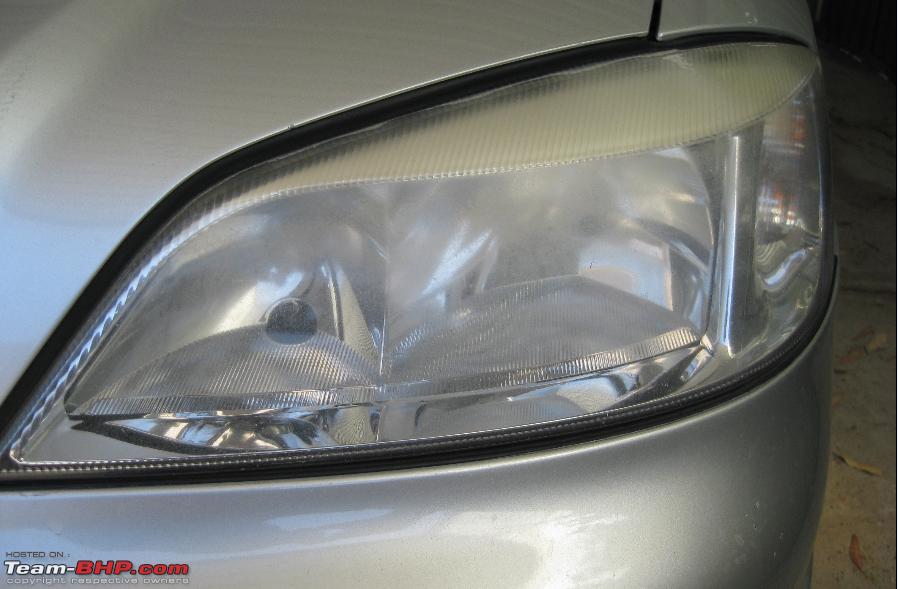
Headlights are an essential safety feature of any vehicle, yet they often get overlooked until they become noticeably dim or foggy. Over time, oxidation, UV exposure, and road debris can turn clear headlight lenses into yellowed, cloudy shields that reduce visibility and compromise road safety. Restoring headlights doesn’t have to break the bank. In fact, with the right knowledge and approach, you can achieve professional-quality results at a fraction of the cost of replacement or professional services. This guide explores budget-friendly headlight restoration, helping you understand what to expect, how much to pay, and how to get the best value without sacrificing quality.
Introduction & Background
Headlight restoration has become a popular automotive maintenance practice as drivers seek to improve visibility and maintain the aesthetic appeal of their vehicles. Cloudy or yellowed headlights not only reduce light output but can also fail state inspections in many regions. While replacing headlight assemblies can cost hundreds of dollars, restoration offers a cost-effective alternative that can extend the life of your current lenses by several years. The process involves removing oxidation and restoring clarity using abrasives, polishing compounds, and protective sealants. With the rise of DIY kits and affordable service options, drivers now have more control over both quality and cost. Understanding the true value of headlight restoration means balancing price, effort, and durability to make an informed decision that fits your budget and lifestyle.
Concept & Overview
Headlight restoration is the process of removing the dull, hazy layer that forms on plastic headlight lenses due to environmental exposure and wear. Most modern vehicles use polycarbonate plastic lenses that are coated with an ultraviolet (UV) protective layer. When this layer breaks down, the plastic becomes susceptible to oxidation, leading to yellowing and reduced light transmission. Restoration works by sanding down the damaged surface layer, polishing the lens to a clear finish, and applying a UV-resistant sealant to prevent future damage. The process can be done at home using simple tools or outsourced to professional detailers or auto service centers. The key to success lies in using the right materials, following a precise procedure, and protecting the restored surface from rapid re-oxidation.
Key Features & Highlights
- Cost Range: Professional restoration typically costs between $75 and $200 per pair, while DIY kits range from $10 to $40.
- Time Investment: DIY restoration takes about 1 to 2 hours, including drying time. Professional services usually complete the job in under an hour.
- Durability: A properly restored headlight can last 1 to 3 years, depending on climate and maintenance. Sealant application is critical for long-term results.
- Equipment Needed (DIY): Sandpaper (2000 to 3000 grit), polishing compound, UV sealant, microfiber towels, and masking tape.
- Environmental Impact: Restoration avoids landfill waste from replaced headlight assemblies, making it a more sustainable choice.
- Visibility Improvement: Restored headlights can improve light output by up to 90%, significantly enhancing nighttime driving safety.
Frequently Asked Questions / Pros & Cons
How much should I expect to pay for headlight restoration?
The cost varies widely depending on whether you choose a professional service or a DIY approach. Professional restoration at a detail shop or auto service center typically ranges from $75 to $200 for both headlights. Mobile services may charge slightly more. On the other hand, a high-quality DIY kit costs between $10 and $40 and includes all necessary materials. Additional expenses might include replacement bulbs or sealant sprays, but these are optional. Always compare quotes and check reviews before committing to a service provider.
Is DIY headlight restoration worth it?
DIY restoration can be highly cost-effective and rewarding if you’re comfortable following instructions and using basic tools. It allows you to work at your own pace and control the quality of materials used. However, it requires patience and attention to detail. Poor technique can lead to uneven surfaces or scratches. If you’re unsure or short on time, a professional service may offer more consistent results. Consider your skill level and the value of your time when deciding whether to DIY.
How long does restored headlight clarity last?
With proper application of a UV-resistant sealant, restored headlights can maintain clarity for 1 to 3 years. Exposure to harsh sunlight, frequent car washes with harsh chemicals, and road salt can shorten this lifespan. Regular cleaning with a mild soap and water solution helps prolong the results. Reapplying a sealant every 6 to 12 months can significantly extend the life of your restoration and keep your headlights looking clear.
Can I restore severely yellowed or cracked headlights?
Restoration works best on headlights with mild to moderate cloudiness or yellowing. If the lenses are deeply pitted, heavily yellowed, or cracked, restoration may not fully restore clarity or structural integrity. In such cases, replacement is often the safer and more practical option. Some DIY kits include fillers for minor scratches, but these are not a substitute for a new lens. Always assess the condition of your headlights before starting the restoration process.
What’s the difference between sanding and polishing?
Sanding uses abrasive materials to remove the damaged outer layer of the headlight lens, restoring a smooth surface. It’s typically done with progressively finer grits of sandpaper. Polishing, on the other hand, uses compounds to refine the surface, remove fine scratches, and bring out clarity and shine. Polishing follows sanding and is essential for achieving a clear, glossy finish. Together, these steps create a renewed lens that allows maximum light output.
Practical Guidance & Solutions
If you’re ready to restore your headlights on a budget, follow these steps for the best results:
First, thoroughly clean the headlights with soap and water to remove dirt and grime. Dry them completely with a microfiber towel. Tape off surrounding areas with painter’s tape to protect your vehicle’s paint from accidental scratches.
Next, begin sanding with 2000-grit sandpaper and water, using circular motions. Gradually move to 2500-grit and then 3000-grit, sanding in a straight line to avoid creating swirl marks. Rinse and dry the lenses between each grit to remove debris.
After sanding, apply a high-quality polishing compound using a buffing pad or polishing machine. Work the compound into the lens in small sections until the surface is clear and glossy. Wipe off residue with a clean microfiber towel.
Finally, apply a UV-resistant sealant using a sponge or applicator. Allow it to cure according to the manufacturer’s instructions. This step is critical to prevent rapid yellowing and extend the life of your restoration.
If you prefer professional help, choose a reputable detail shop with experience in headlight restoration. Ask for before-and-after photos and read customer reviews. Be cautious of services that use low-quality materials or lack proper ventilation.
Conclusion
Headlight restoration is a smart, budget-friendly way to enhance your vehicle’s safety and appearance without the high cost of replacement. Whether you choose to tackle the project yourself or hire a professional, the key is using quality materials and following the proper steps. With a little effort and care, you can restore clarity to foggy headlights and enjoy improved nighttime visibility for years to come. Don’t let cloudy lenses dim your drive. Invest in restoration today and see the difference for yourself.